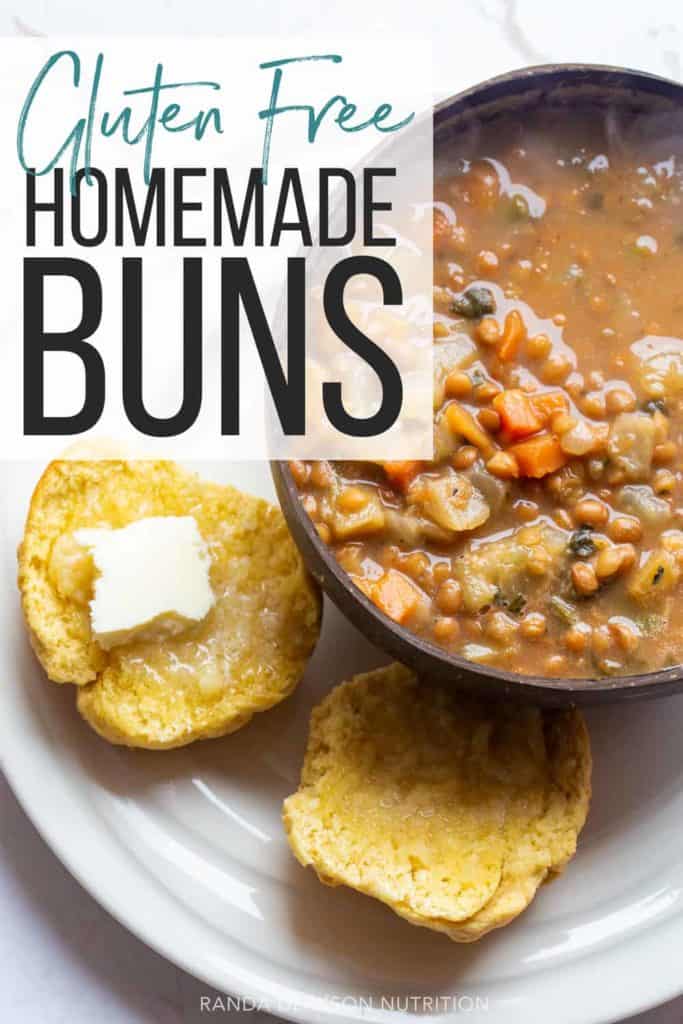
Gluten Free Homemade Buns
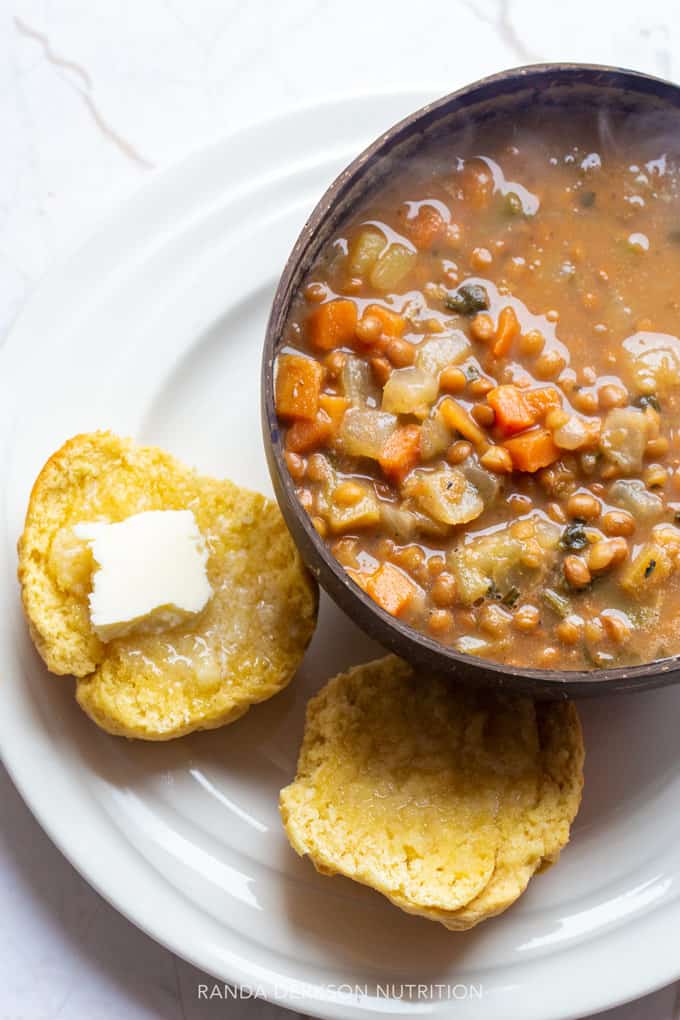
Whether you’re looking to switch it up or if you have a new food allergy, you don’t have to give up the goodness of carbohydrate comfort food. These gluten free homemade buns check all the boxes and are amazing with a hearty vegetable soup.

Save This Recipe!
Enter your email below & I’ll send it straight to your inbox. Plus you’ll get great new recipes every week!
Gluten Free Homemade Buns
Disclosure: This post contains affiliate links for your convenience. As an Amazon Associate, I earn from qualifying purchases.
I grew up with homemade buns in constant rotation in my house. My mom and grandma both made and sold them, along with homemade perogies.
I often make the recipe here for my family but now that I have a gluten intolerance, I’ve been experimenting with gluten free blends.
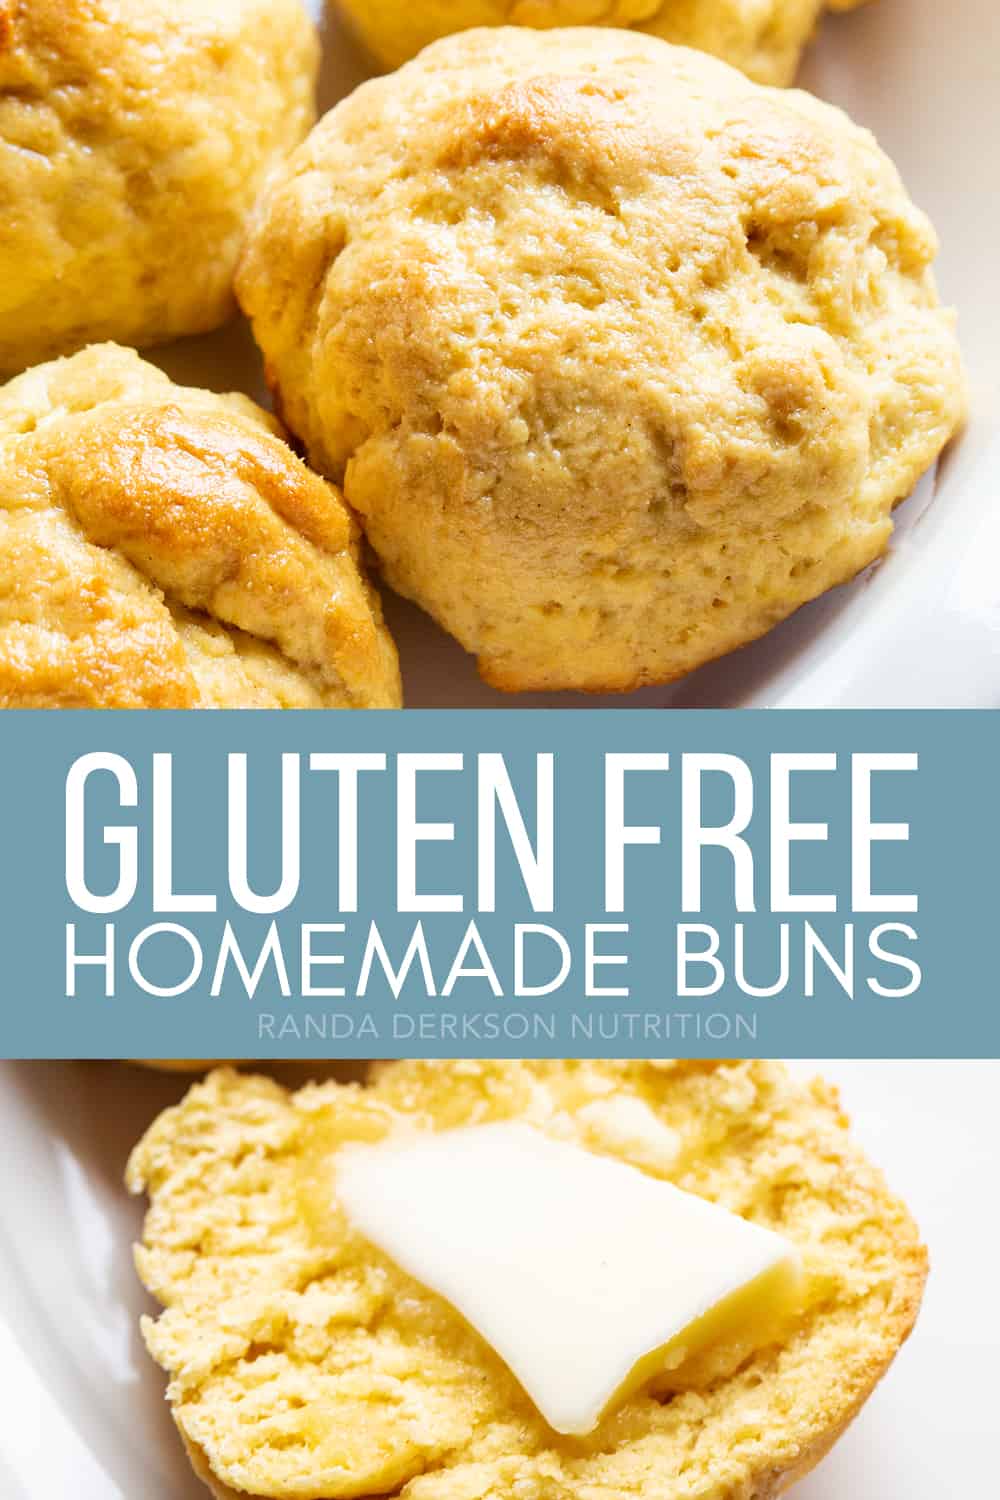
I took the recipe that I grew up on, made a few minor changes and voila: gluten free homemade buns.
Do gluten free buns taste the same as Grandma’s?
No, but that doesn’t mean they’re bad. These gluten free buns are just different. They’re made differently.
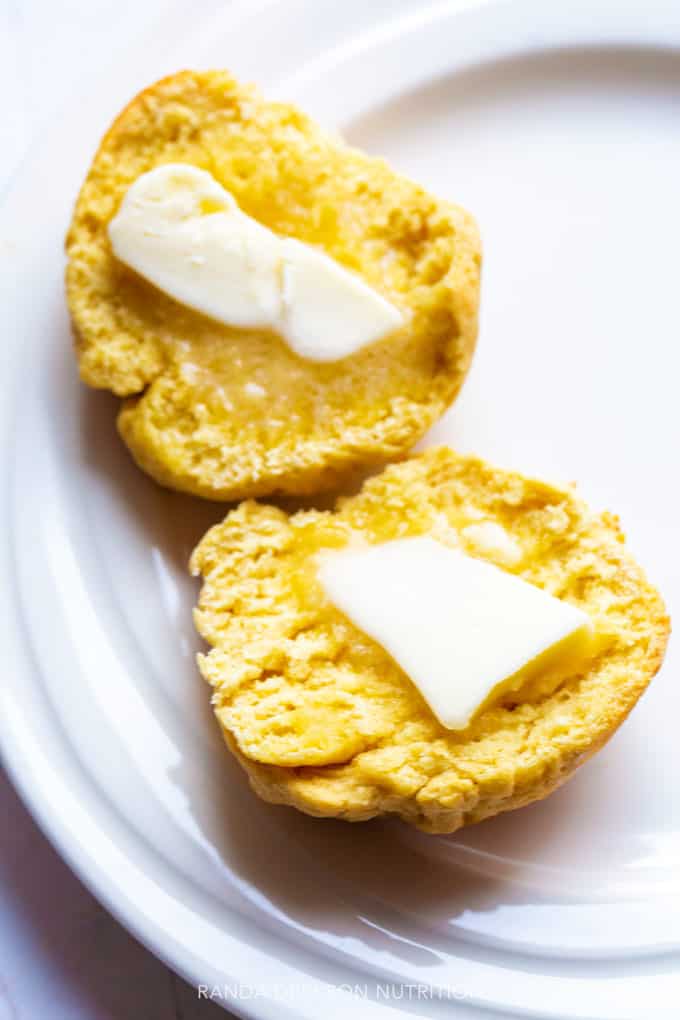
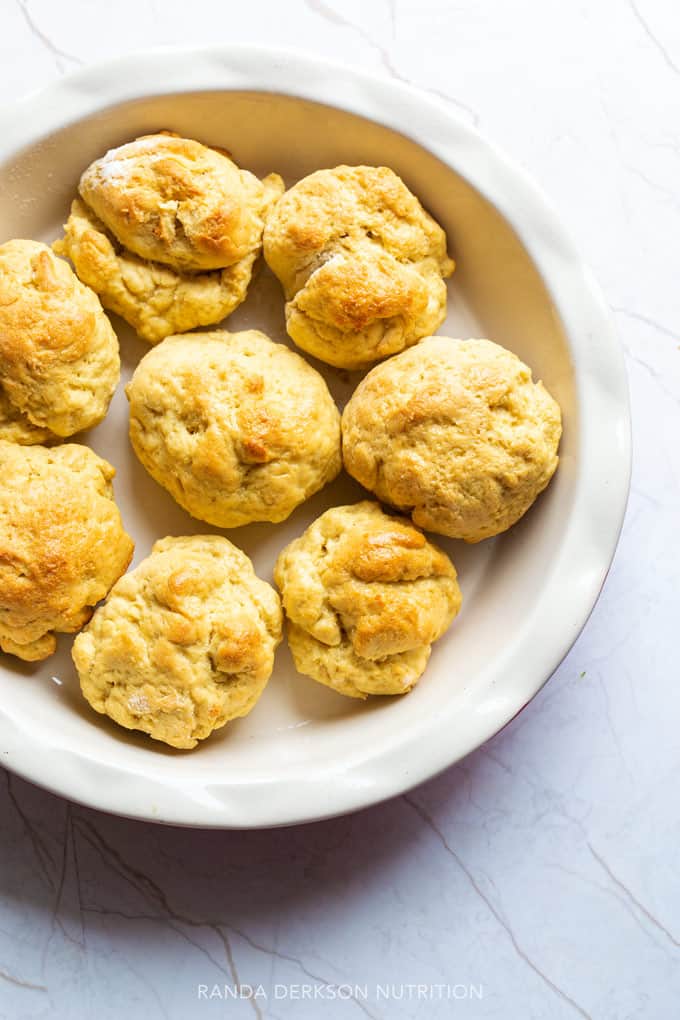
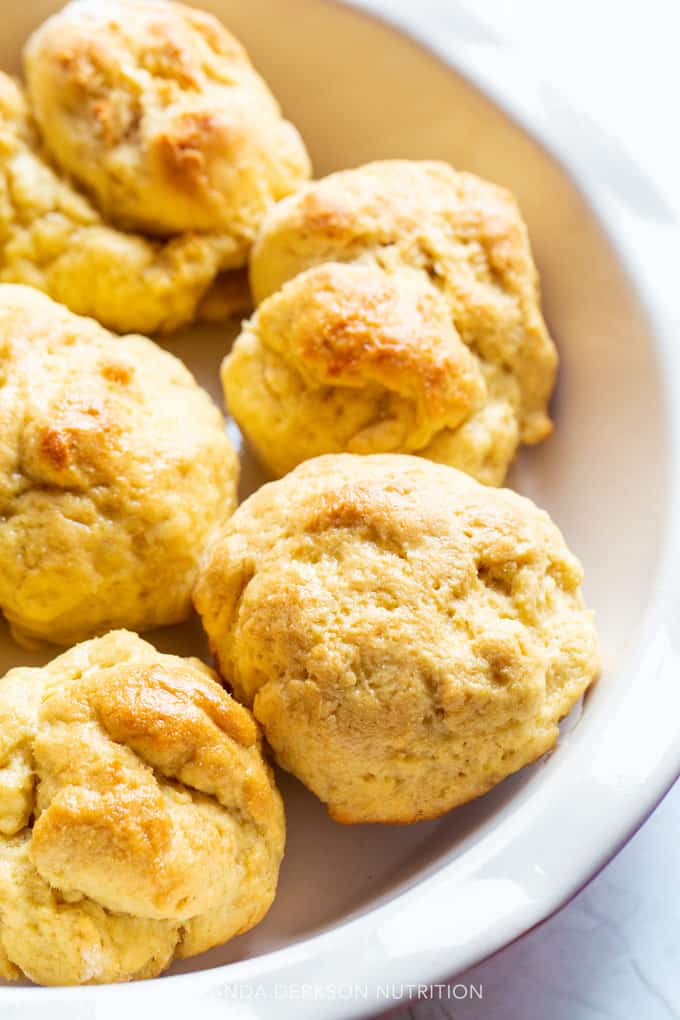
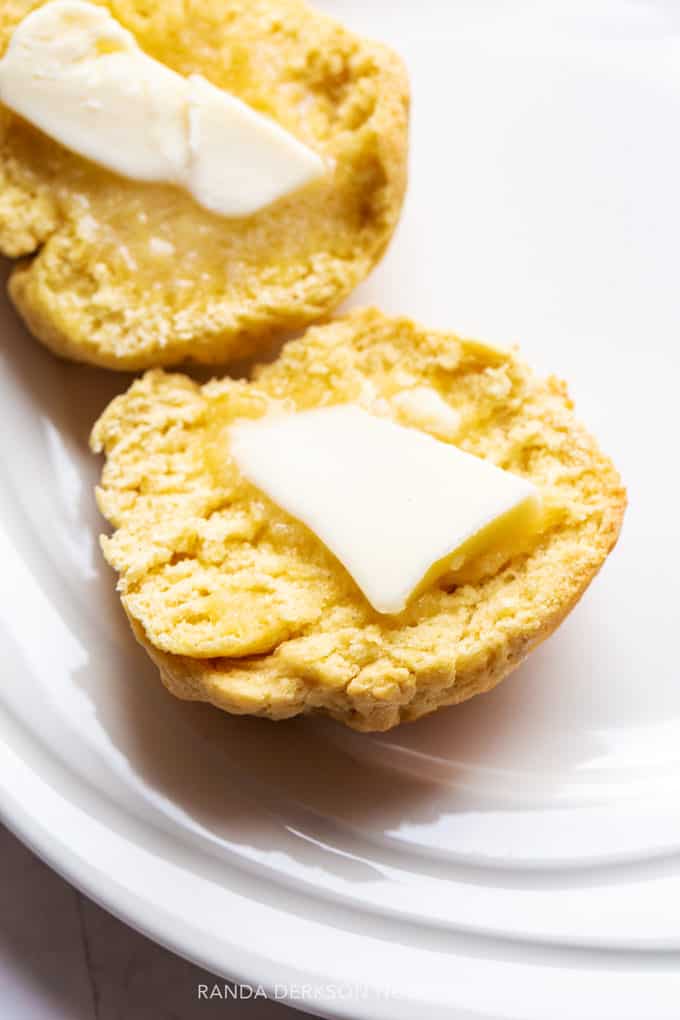
The gluten free dinner rolls are not as fluffy as it was when it was made with all purpose flour and it tastes a little different since the flours are different, but it’s still good.
So good, my son didn’t even notice a difference other than it looked a little different.
These buns are tougher, almost a scone consistency but a little lighter.
That may not be the most helpful description but let’s be honest, I cook, I’m not a baker so the terminology isn’t my thing. I simply share when it tastes good.
Is Xantham Gum Healthy?
So is xantham gum healthy?
The answer is, it’s not unhealthy. It’s not going to hurt you.
There is a chance of a food sensitivity, and if you have any digestive upset well, then it’s not the binder for you.
Is xantham gum necessary?
The answer is maybe.
Yeah I know, such a lawyer answer.
Xantham gum gives gluten free breads and baking gluten consistency (sticking together or binding). In short, your gluten free baking won’t fall apart when it’s touched.
I do what I can to make foods with as little as possible, but I couldn’t get this baking blend to hold for this buns recipe so it was xantham gum to the rescue.
If I come up with another binder that works, I’ll be sure to add it.
I’ve made muffins with gluten free flours without it before and they have turned out but the buns were a little different.
Gluten Free Baking Resources
Like I said before, I’m not a baker and I’m still figuring out this gluten free baking thing.
I’ll share what I learn along the way but here are some helpful resources if you’re new to it like me.
- How Can It Be Gluten Free Cookbook: Revolutionary Techniques. Groundbreaking Recipes by America’s Test Kitchen.
- Gluten-Free Flavor Flours: A New Way to Bake with Non-Wheat Flours by Alice Medrich
- Gluten Free Flour Guide from the Academy of Culinary Nutrition
- Culinary Nutrition Mini-Course from A.C.N. This is a free mini course and one of the modules touches on gluten free baking.
- Bob’s Red Mill All Purpose Baking Blend
- Xantham gum
How to make gluten free buns
If you are not a gluten free blend that has xanthan gum already, you will need to add it. I used Bob’s Red Mill All Purpose Baking Blend and had to add the gum.
For every cup of gluten free flour, use 1 tsp of xantham gum.
Granted, this recipe only has 4 tsps, that’s because I ran out. It still turned out but I’m sure following the general rule will only bring out optimal results.
There are blends (like this one) where you don’t have to. So read the labels.
Serve these gluten free dinner rolls with:
Gluten Free Homemade Buns

Equipment
Ingredients
- 5 cups gluten free flour I used Bob's Red Mill
- 1 tbsps Instant Yeast
- 2 tbsps cane sugar
- 1 egg
- 1.5 cups warm water
- 3 tbsps avocado oil
- 1 tsp salt
- 4 tsps xantham gum if not using a gluten free blend that has it
- coconut oil or butter to grease the pan
Instructions
- In a stand mixer add two cups of flour, half the xantham gum, sugar, and yeast. Stir together. Add the warm water, egg, and oil. Mix with the dough hook until smooth.
- Add the rest of the ingredients and continue to mix with the dough hook until a ball is formed. If the dough sticks to your hands too much, add more flour (a little at a time). You want to be able to grab it without it sticking completely (a little is okay).
- Oil the bottom of the bowl with about a tsp of extra avocado oil.Cover with a clean towel and place somewhere warm. Let rise for 15 minutes. If you have a proof option on your oven, use that.
- Punch down the dough and let rise for another 15 minutes.
- Form into balls and place on a greased baking sheet (I grease with either butter or coconut oil). Cover with the towel again and let rise for another 30 minutes.
- Preheat oven to 350.
- Once the rolls have finished proofing, put in the oven and bake for 25 minutes. Rub the tops with remaining butter (or coconut oil) immediately to keep the buns soft.

